I'm in love with Guanajuato
Guanajuato is my favourite city in Mexico. The centro historico is built into a valley, and many of the roads are tunneled through the mountains that surround it. The city itself has been built and rebuilt upon its former self, with a subterranean level comprised of the haciendas that once lined the Guanajatu River.
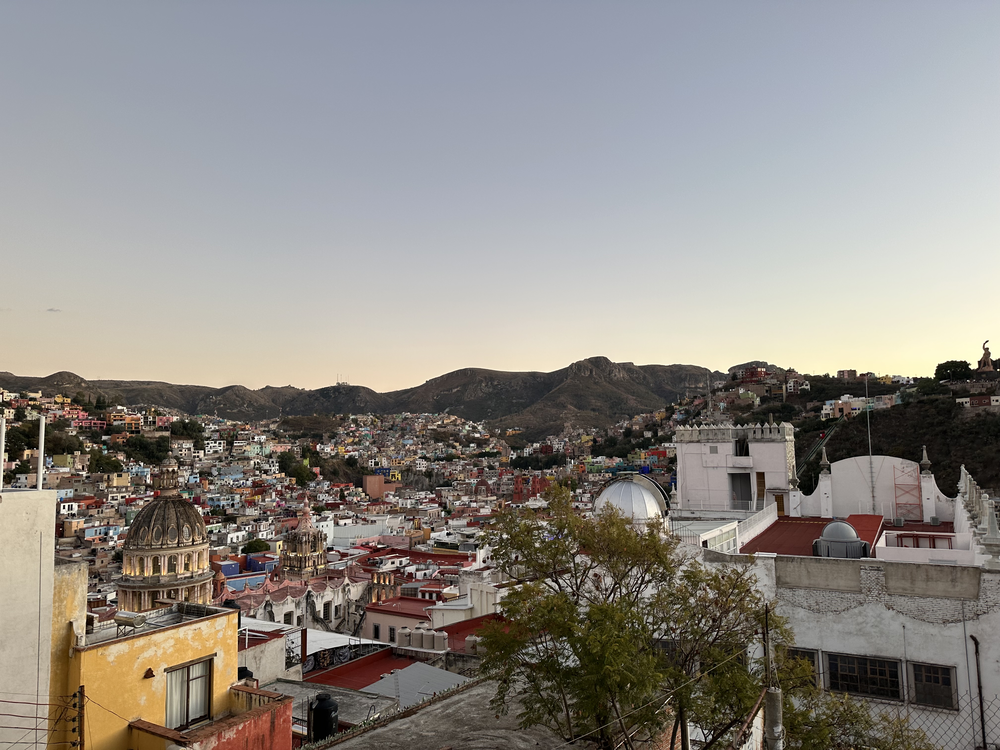
| Lens Model | iPhone 14 Pro back triple camera 6.86mm f/1.78 |
| ISO | 80 |
| Exposure Time | 1/121 |
| Image Size | 4032x3024 |
| GPS Position | 21.018317 N, 101.253494 W |
| GPS Altitude | 2058.7 m Above Sea Level |
| GPS Img Direction | 159.2975464 |
| Create Date | 2023:01:03 18:22:08 |
My first thought when I got here was, why? Why tunnel through three kilometers of mountain to build a town here? The answer is silver. The area around Guanajuato accounted for more than two-thirds of the world’s silver production leading into the 19th century. The primary mine—La Valenciana—is still operational.
Guanajuato was also the site of the first battle of the Mexican War of Independence. You can still see the bullet holes in the Alhóndiga de Granaditas (grain exchange building next to the central mercado).
Guanajuato is about 4 to 5 hours by bus from Mexico City and well worth the trip. It’s also a very reasonable day trip (and beautiful drive) from San Miguele de Allende.
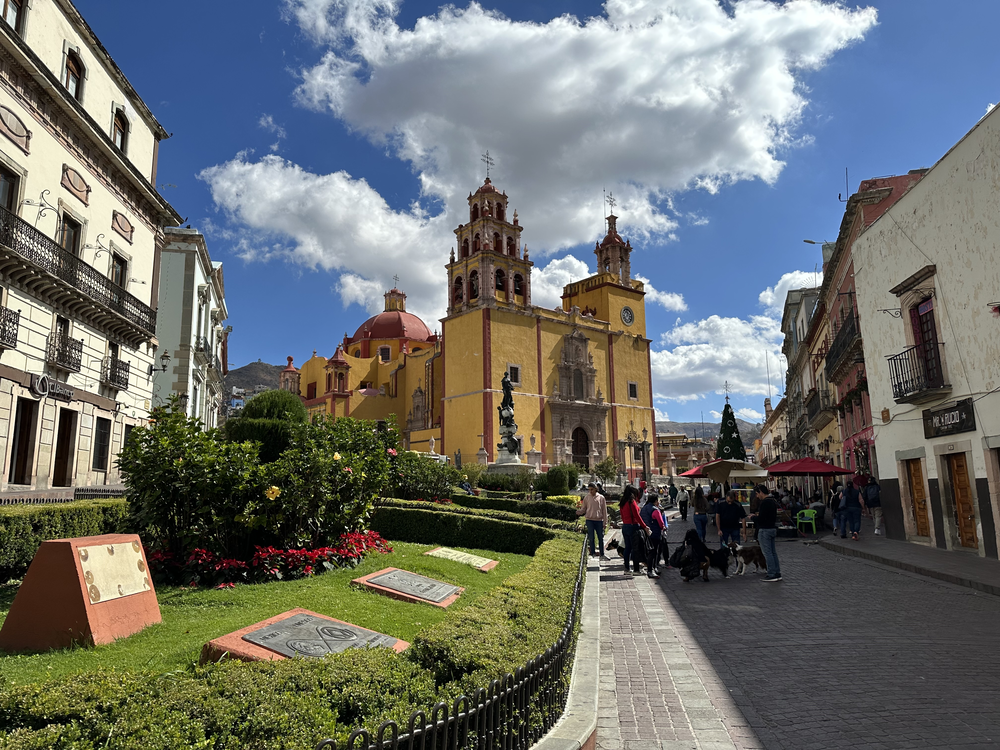
| Lens Model | iPhone 14 Pro back triple camera 6.86mm f/1.78 |
| ISO | 80 |
| Exposure Time | 1/7576 |
| Image Size | 4032x3024 |
| GPS Position | 21.016833 N, 101.254242 W |
| GPS Altitude | 2024 m Above Sea Level |
| GPS Img Direction | 116.5262318 |
| Create Date | 2023:01:03 12:41:27 |
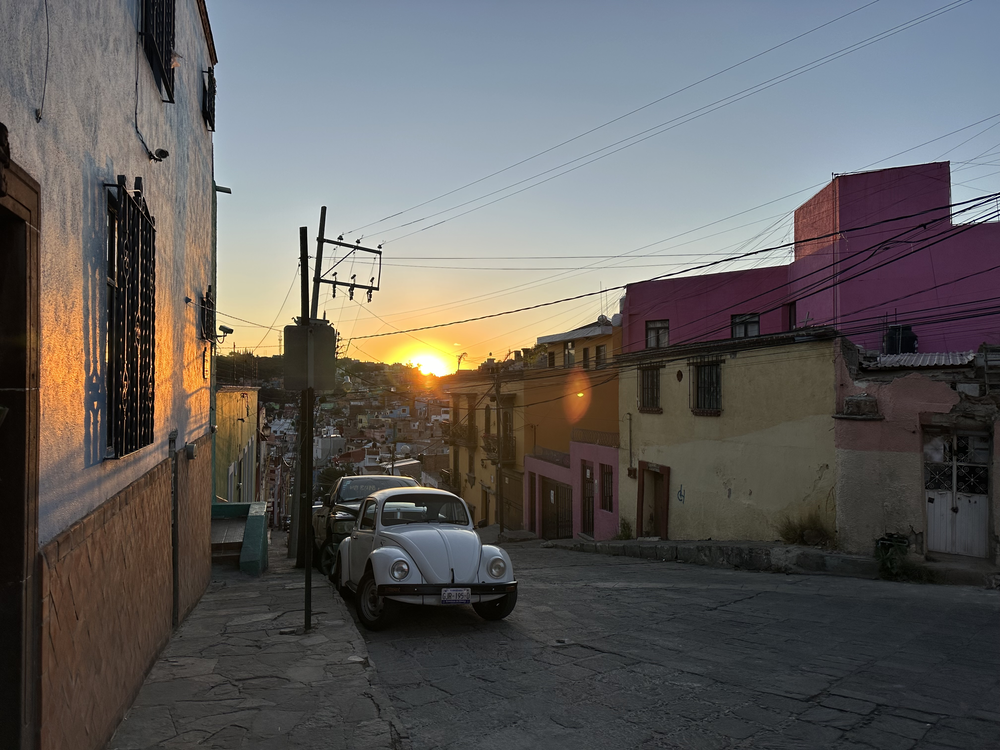
| Lens Model | iPhone 14 Pro back triple camera 6.86mm f/1.78 |
| ISO | 80 |
| Exposure Time | 1/1779 |
| Image Size | 4032x3024 |
| GPS Position | 21.019817 N, 101.250581 W |
| GPS Altitude | 2076.3 m Above Sea Level |
| GPS Img Direction | 260.5706482 |
| Create Date | 2023:01:03 18:07:53 |
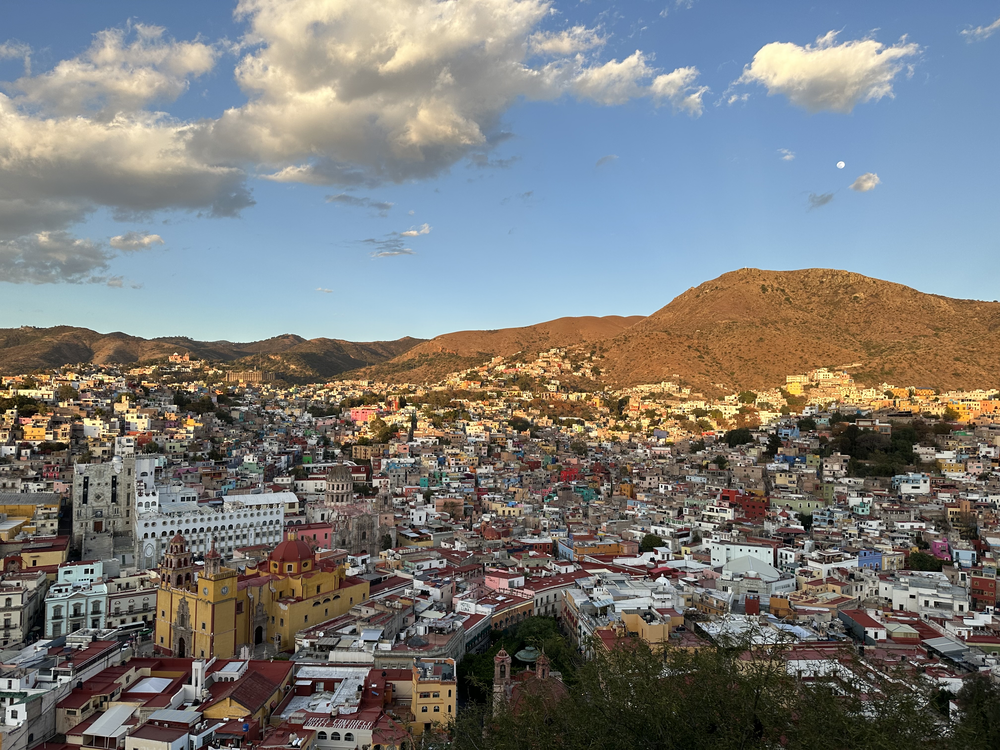
| Lens Model | iPhone 14 Pro back triple camera 6.86mm f/1.78 |
| ISO | 80 |
| Exposure Time | 1/1241 |
| Image Size | 4032x3024 |
| GPS Position | 21.014539 N, 101.254303 W |
| GPS Altitude | 2085.6 m Above Sea Level |
| GPS Img Direction | 40.99349974 |
| Create Date | 2023:01:04 17:57:19 |

| Lens Model | iPhone 14 Pro back triple camera 6.86mm f/1.78 |
| ISO | 80 |
| Exposure Time | 1/604 |
| Image Size | 4032x3024 |
| GPS Position | 21.016881 N, 101.256767 W |
| GPS Altitude | 2014.6 m Above Sea Level |
| GPS Img Direction | 104.9418297 |
| Create Date | 2023:01:05 11:05:21 |
Full resolution photos are available below the fold.
Note: I’ve edited this post. It was first posted on January 4, 2023 with only the leading image. When I first posted the picture, it was in the early days of ChatGPT and I was of course excited to try to generate some text with it. I did so with a short description of Guanajuato City as a caption, and with the benefit of hindsight I’m no longer comfortable polluting the internet with content I didn’t write myself. All of the photos beyond the first were published on March 23, 2024 and the text is my own.